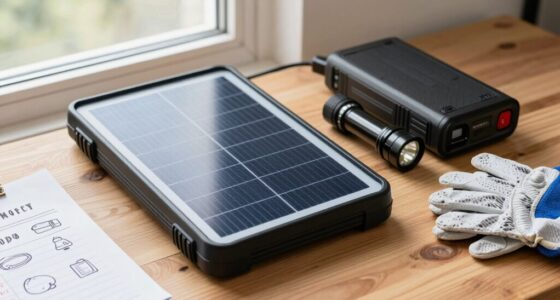

This guide explains how to assemble a solar-powered charger for your laptop, allowing you to charge it sustainably using sunlight. It’s suitable for individuals with basic electrical knowledge and some DIY experience. Completing this task results in a portable, eco-friendly power source for your laptop, especially useful for outdoor or off-grid use.
Difficulty: Intermediate | Time: 2-3 hours
What You’ll Need
Tools & Materials:
- soldering iron and solder
- wire cutters/strippers
- multimeter
- screwdriver
- drill (optional)
- hot glue gun
Knowledge:
- basic understanding of electrical circuits
- ability to solder and handle small electronic components
Ensure the solar panel voltage matches your laptop’s charger input voltage for safe operation. Check local regulations for handling lithium-ion batteries and electronics safety.

Portable Solar Power Bank with AC Outlet 65W 110V External Battery Pack, 24000mAh Portable Laptop Charger with Foldable Solar Panel 30W for Outdoor Smart Device Camping Hiking Trip Off Grid Backup
🌍Outdoor Power Bank with Solar Panel: with a 24000mAh lithium-ion battery pack, the portable power bank is powerful…
As an affiliate, we earn on qualifying purchases.
As an affiliate, we earn on qualifying purchases.
Before You Start
Confirm all parts are available and in working condition. Work in a well-ventilated area with safety equipment. Be aware of the voltage and current ratings to prevent damaging your devices or causing safety hazards.

FlexSolar 100W Portable Solar Panels Chargers with PD3.0 USB-C,QC3.0 USB-A and DC Outputs Foldable IP67 Waterproof Power Emergency Camping for Small Power Station Generator,Phones, Power Banks
⚡ Ultra-Lightweight & Ultra-Portable: 100W Foldable Solar Panel Weighing only 4.1lbs (1.85kg) with a sleek 0.59-inch profile, this…
As an affiliate, we earn on qualifying purchases.
As an affiliate, we earn on qualifying purchases.
Step-by-Step Instructions
Step 1: Connect the solar panel to the charging controller
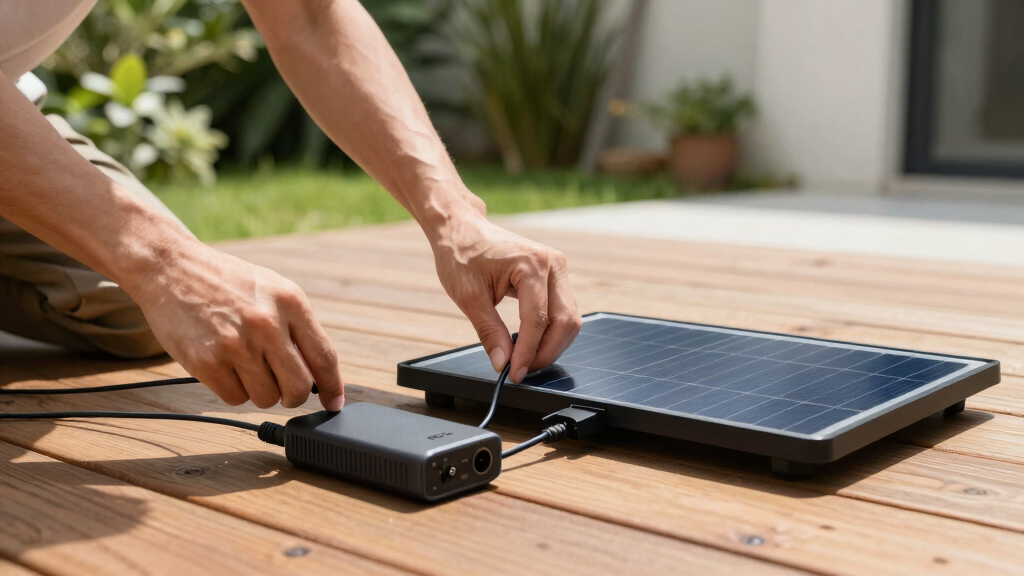
Attach the positive and negative leads from the solar panel to the input terminals of the charging controller, ensuring correct polarity. Use the appropriate connectors or solder directly, then insulate all connections with electrical tape.
Tip: Double-check polarity before powering on to prevent damage. Use a multimeter to verify voltage and polarity if unsure.
Check: Multimeter shows correct voltage at the controller input when sunlight hits the panel.
Step 2: Wire the battery pack to the charging controller
Connect the battery pack terminals to the battery output terminals of the controller, observing polarity. Secure connections with solder or connectors, and insulate thoroughly.
Tip: Use a battery management system if available for added safety and longevity.
Check: Multimeter confirms battery voltage matches the battery pack’s rated voltage after connection.
Step 3: Configure the DC-DC step-up converter
Connect the output of the battery pack to the input of the step-up converter. Adjust the converter’s voltage output to match your laptop charger’s voltage (commonly 19V). Use the multimeter to verify the output voltage before connecting your laptop.
Tip: Set the voltage with the converter’s adjustable knob; verify multiple times to avoid overvoltage.
Check: Multimeter confirms the output voltage matches your laptop’s charging voltage precisely.
Step 4: Connect the converter to your laptop charger input
Attach the converter’s output leads to the laptop’s charging port, using the correct connector or adapter. Secure connections with solder or specialized connectors, and insulate all exposed wiring.
Tip: Use adapters designed for your laptop model if necessary. Ensure no loose connections to prevent power interruptions.
Check: Your laptop recognizes the charger and begins charging when plugged in, with stable power output verified on the multimeter.
Step 5: Test the entire setup outdoors
Place the solar panel in direct sunlight, ensuring it receives maximum exposure. Power on the system and connect your laptop. Observe charging behavior and monitor voltage and current with the multimeter.
Tip: Avoid shadows or obstructions during testing to maximize efficiency.
Check: Laptop charges steadily, and multimeter readings indicate consistent voltage and current flow.

Gowoops 5PCS 150W DC-DC 10-32V to 12-35V Step Up Boost Converter Module Adjustable Power Voltage
Convenient for DIY — You can use this module to DIY an output-adjustable car power supply
As an affiliate, we earn on qualifying purchases.
As an affiliate, we earn on qualifying purchases.
Common Mistakes to Avoid
- Connecting the solar panel with incorrect polarity. — Always double-check polarity markings and use a multimeter to verify before connecting.
- Overvolting the converter or laptop. — Adjust and verify the converter’s output to match the laptop’s required voltage exactly.
- Using incompatible or low-quality components. — Select components rated for your device’s voltage and current, and verify compatibility before assembly.
- Insufficient insulation or loose wiring. — Thoroughly insulate all connections and secure wiring to prevent shorts or disconnections.

22.2V-24V 2.6Ah Lithium Battery, 22.2V-24V Rechargeable Li-ion Battery with Charger, Bare Leads Wire, Cable Connector for Kids Ride On Cars, DIY Project, Solar Panels, LED Light Strip, CCTV Camera
Qwenoer 22.2V Rechargeable Battery: 2600mAh 22.2 volt battery size is 4.33 *3.54 *3.14in and weight is 380g/0.83lb.
As an affiliate, we earn on qualifying purchases.
As an affiliate, we earn on qualifying purchases.
Troubleshooting
Problem: Laptop not charging despite setup.
Solution: Check all connections for correct polarity, verify voltage output with multimeter, and confirm the solar panel is in direct sunlight.
Problem: No voltage output from converter.
Solution: Ensure the battery pack is charged, verify the converter’s settings, and inspect wiring for damage or loose contacts.
Problem: Battery not charging or discharging properly.
Solution: Test the battery pack with a multimeter, confirm the charging controller is functioning, and replace any faulty components.
What Success Looks Like
The system provides a steady voltage matching your laptop’s charging requirements, and the laptop begins charging when connected outdoors in sunlight. The setup remains stable over time without overheating or disconnects.
Next Steps
Secure all components in a weather-resistant enclosure for outdoor use. Regularly clean the solar panel for maximum efficiency. Monitor battery health periodically. Use the system during sunny hours, and consider upgrading components for higher power or longer runtime as needed.
Frequently Asked Questions
Can I use any solar panel for this project?
No, select a solar panel with enough wattage (at least 10W-20W) and voltage output that matches your charger’s voltage requirements. Higher wattage panels can charge faster but may require stronger wiring and components.
How long does it take to fully charge the battery pack?
Charging time depends on the solar panel wattage, sunlight conditions, and battery capacity. Typically, a small 10W panel can take 4-8 hours of direct sunlight to fully charge a standard battery pack.
Is this setup safe for my laptop?
Yes, if properly configured with correct voltage regulation and safe wiring practices. Always verify voltage and current before connecting your laptop to prevent damage.
Can I use this system indoors?
No, the solar panel needs direct sunlight to generate power. The system is designed for outdoor use or locations with sufficient sunlight exposure.
What if the weather is cloudy or rainy?
The system will produce less power or none at all in poor weather conditions. Consider adding a larger battery capacity or supplemental power sources for reliability.